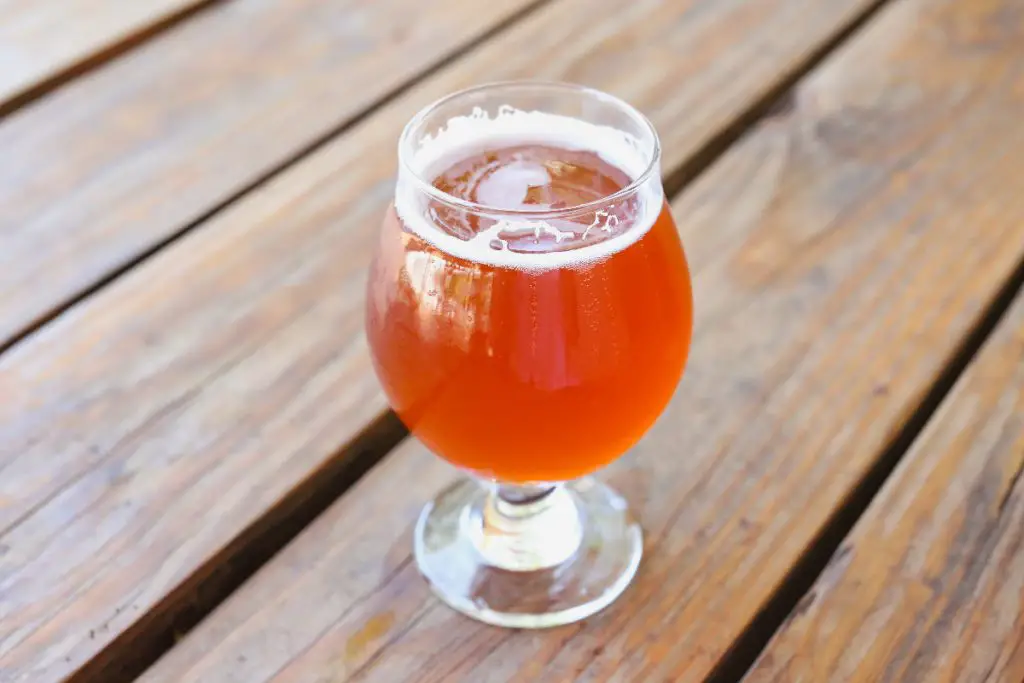
Sour beer is oh-so-trendy in the craft beer world right now!
More and more homebrewers are itching to whip up a batch.
Well, we’re about to break down the whole sour beer-making process step by step.
You’ll get a lip-puckeringly good recipe from this, so let’s get that tangy goodness flowin’.
This one’s for the more advanced brewer!
The Two Ways to Make a Sour
You’ve got two roads to explore when whipping up sour beers.
There’s the modern “I want it now” way using the kettle sour method.
It’s quick but pretty tricky.
Plus, it could mess with your gear’s cleanliness on both hot and cold fronts.
Then, there’s the old-school path, taking its sweet time but rock-solid safe.
It presents minimal gear risk and the tastiest sours you’ve ever dreamed of.
While zippy kettle sours have their fans, we’re nudging you to take the traditional route first.
Patience pays off big time!
Learning to Brew a Sour

Before we get to the recipe, let’s go through the general sour process.
Going the traditional route, your brew day will feel very typical.
No need to fuss with quirky mashing techniques — stick to the good ol’ regular mash.
Here’s what you’ll need:
Ingredients
Grains
Keep it accessible on the grain bill.
Many opt for a pale malt like Pilsner or 2-row, plus some Wheat.
Toss in RiceHulls to prevent any stuck sparges.
We also recommend Carapils (dextrin) for extra body and head.
Hops
Skip the sharp bitterness from high alpha hops.
Some brewers even suggest those forgotten hops in your fridge. Time-sitters do wonders here.
Try Liberty.
Yeast
This is where the party kicks off.
Use two yeast types.
First, the classic US-05 for primary fermentation.
Round two? Bring in a lambic squad: Pediococcus (Pedio), Brettanomyces (Brett), and Lactobacillus (Lacto).
Our pick? A Wyeast 3278 Lambic Blend.
Ever thought about using honey instead of sugar in mead?
The Process
So, you brew your beer like you usually do on the hot side.
Then, we chill things down and head into Fermentation Land.
For a sour beer, we’ll switch things up a tad.
For the initial 2-3 weeks of fermentation, it’s standard fare.
Pop your wort into the fermenter, pitch the US-05 years, and let it munch on those easy sugars.
Once those weeks roll by, you’ve got a choice.
You can pitch the Lambic yeast straight into the primary fermenter, rack it to a secondary, and throw it there.
IMPORTANT NOTE:
Concerned about contamination? No worries!
It’s true; anything the beer touches after adding the Lambic yeast might hurt future brews.
That means the fermenter, transfer hoses, keg, and bottles are all in the risk zone.
The solution? Dedicated gear for sour brews only.
Glass carboys work, too — they’re good at banishing bacteria and wild yeast with a thorough cleaning and sanitization.
Those plastic fermenters and bottles cause more headaches due to hard-to-reach scratches.
There will always be a slight contamination risk, but with a dash of caution and preparation, you’re golden.
Raspberry Sour Recipe

Okay, let’s get brewing!
Here are the nerdy specs to take note of.
SRM: 3.82
Target OG: 1.057
Target FG: 1.011
ABV: 6.06%
IBU: 15.47
Pre Boil Volume: 6.25 gallons
Fermenter Volume: 5.2 gallons
Ingredients
- 7 lbs. Pilsner
- 5 lbs. Wheat Malt
- 0.5 Carapils
- 1 oz. Liberty hops
- Fermentis Safale US-05 Yeast
- Wyeast Belgian Lambic Blend 3278 Yeast
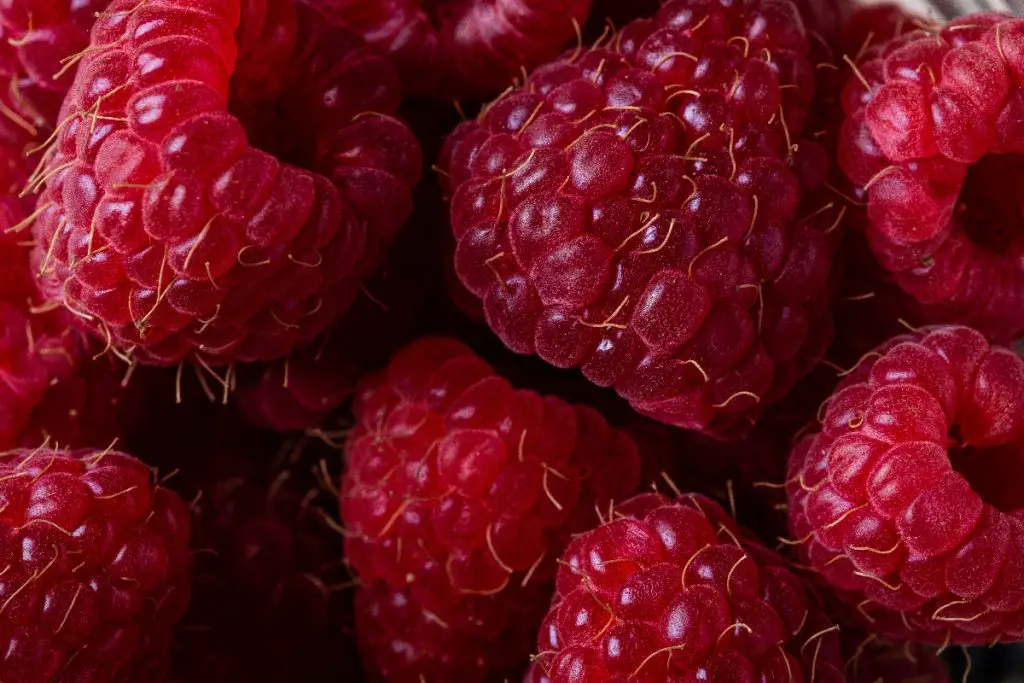
- 5 lbs. Raspberries (the best you can find)
Before We Dive Deeper, Let’s Bookmark These Berrylicious Recipes!
Make Your Blueberry Mead At Home.
Steps
1. Mash your grains.
Heat your grains to 152 degrees Fahrenheit and let them mingle for an hour.
2. Boil will hops.
Fire up that kettle and let it boil for a good 90 minutes.
Toss your hops in at the very start.
3. Cool and transfer.
Once the boil is a wrap, cool that wort down to the yeast’s comfy pitch temp.
Pour it into your fermenter and introduce the US-05 Ale Yeast.
4. Seal and wait.
Lock up that fermenter and let it work its magic for 14 days.
5. Introduce the Lambic Blend.
It’s decision time.
You can introduce the Wyeast 3278 into the fermenter, rack the beer into a new home, and then pitch the yeast.
6. Wait.
Here’s where your monk-like patience comes in.
Park that fermenter for a cozy six months.
7. Add the raspberries.
Right around the 5-month mark, add your raspberries.
Frozen is fine — less fuss!
Check out this OK wiki for adding fruit to sour beer.
8. Bottle or keg your brew.
It’s time to bottle up or tap into those kegs. If you want crystal-clear beer, give it an excellent two-day rest before you do.
FAQs
This style of beer is a member of the sour wheat beer family.
It’s an intriguing blend of sourness and sweetness, resulting in a refreshing and balanced taste.
What ingredient makes a sour beer sour?
In nearly all sour beers, you’ll come across Lactobacillus, Pediococcus, or both.
These bacteria bring distinct sour tones.
And how they incorporate into the brew sets apart one sour beer from another.
Here’s an essential tip for debuting sour beer: patience is your best friend.
Expect a lengthy journey of 6 months for secondary fermentation.
The beer’s flavor will continue to evolve after bottling if you’re willing to give it a few more years.
Final Thoughts
Once you set out to craft raspberry sour beer, remember that the fusion of tangy and fruity notes demands patience!
The process we’ve explored, from selecting quality raspberries to harnessing the magic of souring bacteria, will reward you with a unique brew.
Whether you choose the traditional or modern route, planning and knowing what you’re doing is key.
So, gather your ingredients, trust the process, and soon, you’ll savor the culmination of your efforts.
Good luck!