Pineapple beer is… enjoyable.
There are quite a few iterations of it around the world.
After all, the beer brewing scene is getting increasingly creative, so it’s not uncommon to find fascinating fruit infusions.
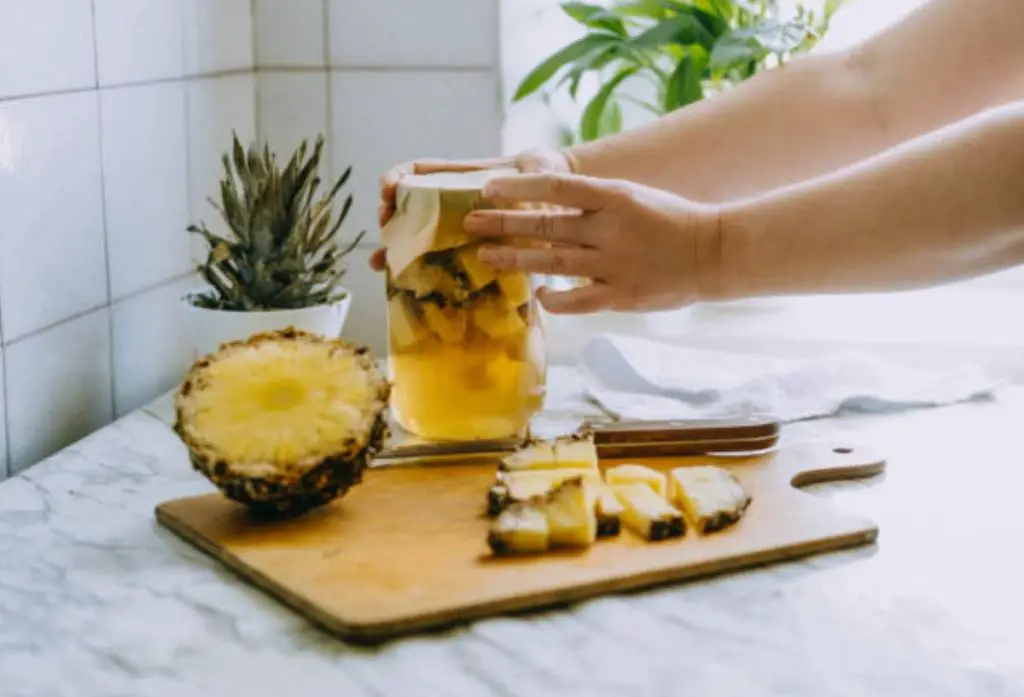
But if we’re talking about a straightforward classic pineapple beer, that would be Tepache.
Tepache is a Mexican fermented drink made from the rind of pineapples.
Folks usually sweeten it with brown sugar, season it with cinnamon, and serve it cold.
There’s also a very similar South African counterpart called Pynappelbier.
In this post, we will make our version with ingredients and equipment you can easily find.
So, what do you say to a nice glass of homemade pineapple beer?
Sound good?
Then, let’s get brewing.
Pineapple Beer Homebrew Recipe
Step 1: Gather your equipment and ingredients.
Equipment
- 25-litre fermentation vessel
- Blender
- Measuring cup
- Funnel
- Knife and cutting board
- However, many 2-litre plastic bottles contain your brew. (Glass bottles can explode.)
- Hydrometer (optional)
Ingredients
- 4 Ripe Pineapples (roughly 600 grams each)
- 22 liters of boiling water
- 22 cups of sugar
- 2 x 20g packets of Brewer’s yeast
Step 2: Sanitize, sanitize, sanitize!
Before we get brewing, let’s get everything nice and clean.
Grab some hot water and soap, and give everything a good scrub.
Your workspace, cutting board, knife — and don’t forget the fermentation vessel, blender, and bottles!
Make sure there’s no trace of soap left on anything.
Oh, and give those pineapples a good rinse under running water, too.
We don’t want any unwanted growths messing with our brew, changing up the flavor, or, worst case, ruining it entirely.
Step 3: Ready the pineapple base.
Your pineapples should be nice and ripe.
Take off the crowns and any loose leaves, but don’t bother peeling the fruit.
At this point, using a blender is totally up to you.
Using one will help you squeeze every drop of flavor and juice from the fruit.
But hey, if you’re without one, no worries!
Give those pineapples a fine chop on your cutting board and squeeze out all the juice you can.
Willing to dirty your blender?
Then, it’s time to tackle those pineapples!
Please give them a good chop and toss the pieces into the blender.
Pour in 500ml of boiling water and start with the pulse function to blend it into a smoothie-like mix.
Once it’s all smooth, pour the blend into your fermentation vessel.
Keep going with this process until all your pineapples are pulped and ready.
Each batch of fruit should weigh around 600g.
Now, let’s boil up another liter of water and give your blender a quick “rinse” to ensure every bit of the fruit is in the vessel.
We’ve used 3 liters of water (4 x 500ml + 1 liter).
That means it’s time to throw 3 cups of sugar into the vessel.
Step 4: Fill the vessel.
Add 10 cups of sugar to the tank, then pour in 10 liters of boiling water.
If tap water is safe to drink, then that’s fine.
It must be hot to eliminate all the chlorine (which isn’t yeast’s best friend).
Please take care not to fill the vessel to the top.
When fermentation begins, those gasses need to go somewhere!
Step 5: Add the yeast.
Once the mixture’s temperature hits around 25-26°C, it’s go-time to introduce the yeast.
If things are too toasty, it’s a yeast killer; it’s too chilly and won’t wake up.
Carefully pop that cap back onto the vessel, but don’t crank it tight.
Those gasses are looking for a way out!
If you don’t have a cap, grab a clean dishcloth, drape it over the opening, and secure it with a rubber band.
If using a hydrometer, get that original gravity reading after the mix cools down as a reference point.
Let’s pause for a quick brewing break and bookmark these posts for later:
Brewing Beer With Apples And Other Recipes
Two Delicious Blueberry Mead Recipes.
Step 6: The Waiting Game
Look for a warm and dark spot for your fermentation vessel. It’ll be waiting there for a solid seven days.
Once that week passes, your brew should be ready for bottling.
Grab a bucket or handy container, and drape a cheesecloth or clean dishcloth over it.
Fasted the cloth snugly with a bit of string.
Place that bucket underneath your vessel and let the brew flow through the cloth.
If your container hits total capacity, it’s time to shift that liquid into plastic bottles with a funnel.
Again, do not fill them up entirely.
Once everything’s bottled up, screw those caps on tight.
Then, give them a few more days to keep the fermentation going before boiling them in the fridge.
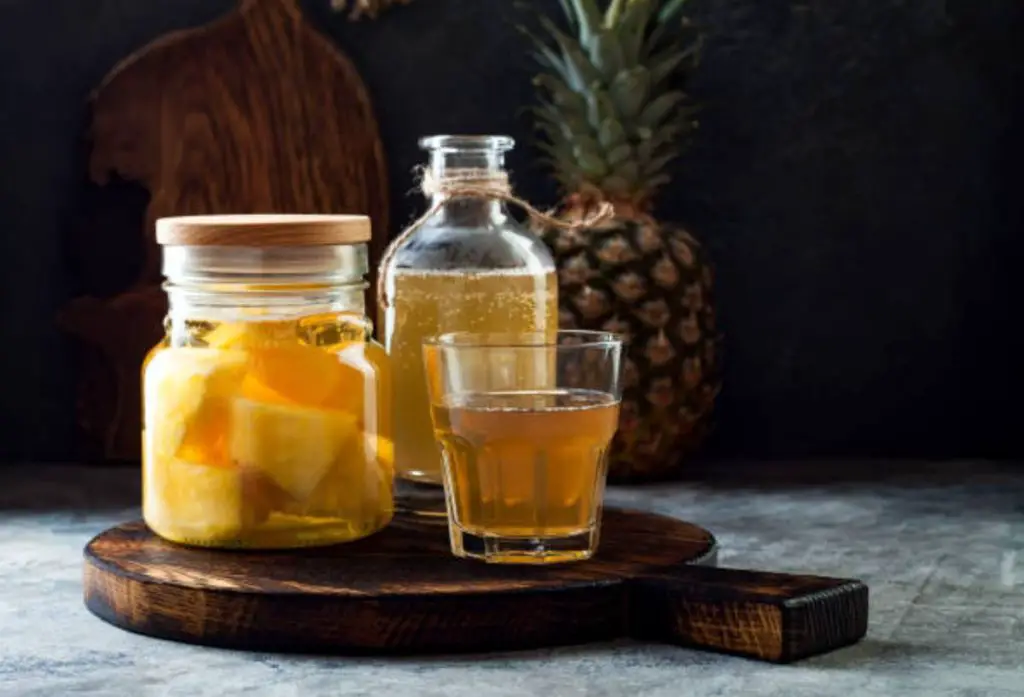
Step 7: Enjoy your brew!
Once your pineapple beer is chilled, ease into cracking open a fresh bottle.
Let it vent out slowly, maybe even over a sink.
Doing this too quickly might lead to a pineapple-y mess!
Cloudy homemade beer? Check out this article.
Homemade Pineapple Beer FAQs
Slightly.
Letting it brew over five days and adding sugar should produce some alcohol, though this amount is dismissible.
If you want to share this drink with your kids, brew it for three days or less!
Under the right conditions, any fruit has the potential to undergo fermentation independently.
A combination of yeast and bacteria must be present to kick off a natural fermentation process.
Typically, this happens when the fruit gets squashed, allowing the yeast to mingle with the sugars in the juice.
Imagine a refreshing beverage reminiscent of cider, carrying a delightful pineapple sweetness in its aftertaste!
Conclusion
So, there you have it, your very own homemade pineapple beer!
We hope this process rewards you with a seriously refreshing drink with those pineapple vibes shining through.
Once you get the hang of it, you could even experiment by creating a more complex cocktail with ginger, cream of coconut, or good old lime juice!