Vikings. Are. Awesome.
And they’re often credited with inventing mead, but is that true?
In reality, historical references to mead pop up in various cultures, from China to Greece, making it challenging to pin down the real originators.
But the Vikings did love this drink.
In Norse Mythology, even the gods drank it.
They believed it granted wisdom and poetic inspiration.
So, what was it like?
How did they make it?
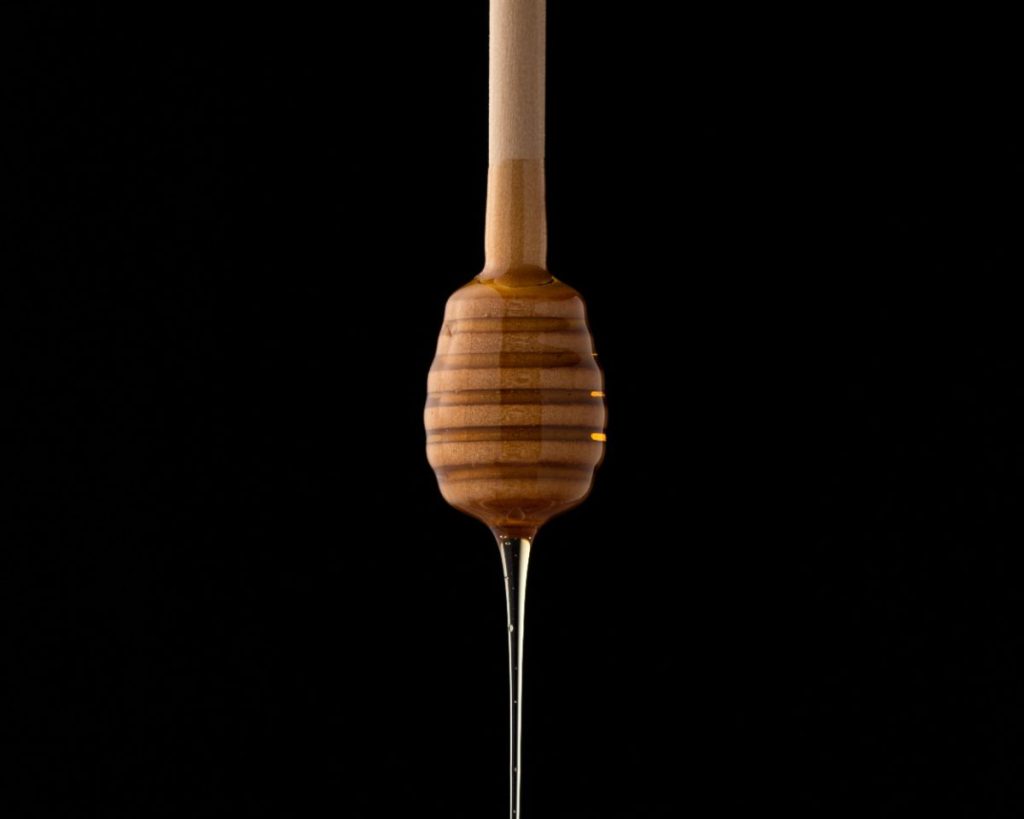
Well, it’s honey mixed with water.
Then it’s fermented to get that alcoholic kick.
It’s not liquor — no distillation involved!
This post will explore Viking mead and how you can make it yourself!
Sound good?
Then let’s get into the heads of these “mead-ieval” masterminds.
How Did Vikings Make Their Mead?

The Vikings didn’t have a homebrew store or the Internet, so how did they source their ingredients?
Water?
That’s easy to find.
But honey?
Well, that was available in the southern regions of Scandinavian countries.
Yeast?
They got crafty!
Some strains were collected from wild yeasts on fruits, flowers, and vegetables.
This was their technique:
They’d dry a juniper or birch log, let it crack, then toss it into a batch of mead and collect yeast from its crevices.
Pretty resourceful, huh?
They also reused unwashed fermentation vessels caked with yeast from previous batches.
In The Cook’s Cook, they reveal the secret to making wild-foraged mead like a Viking using honey, water, raisins, and a few squeezes of lemon or orange.
Consider brewing and tasting Kombucha Beer.
What Did Viking Mead Taste Like?

Unless you can chat with an immortal Viking, it’s all a bit of a guessing game.
But let’s make some educated guesses!
Vikings probably diluted honey with water since it doesn’t ferment well due to low water content.
If the honey had been collected before the bees capped it, its higher water content might have led to spontaneous fermentation.
Yeast plays a crucial role in mead flavor, just like baking.
When yeast isn’t “happy” with the nutrients, it can create some not-so-delicious byproducts.
We imagine that a bad batch would have tasted like kerosene.
And in those wild days, different bacterial strains likely added extra exciting flavors to the mix.
Many believe an excellent batch of Viking mead would have tasted sweet and light, much like a Moscato wine.
How To Make Your Own Viking Mead

Viking Mead sounds yummy, and you can sample it by making your batch!
But first, you’ll need a starter!
Equipment and Ingredients You’ll Need for a Mead Starter
The goal is to initiate wild fermentation. Here’s what you’ll need:
- A glass jar or ceramic crock (at least a quart in size) with an open-mouth
- A trust wooden stir stick
- A clean cheesecloth, towel, or t-shirt to cover the vessel’s opening
- ½ cup of raw, unfiltered honey
- 2 cups of fresh spring water
- A handful of organic fresh or dried berries, grapes, or plums (just a few for that natural yeast boost)
- Optional: Wild, unsprayed botanicals like wildflower petals (no greens) for extra wild yeast and nutrients
The Steps for Making a Mead Starter
Step 1:
In an open-mouthed container, thoroughly mix raw honey and clean, room-temperature water until the honey dissolves completely.
Add the dried or fresh berries and optional botanicals.
Step 2:
Find a warm, dark corner (around 70°F (21°C)) and cover the vessel with a cloth.
Keep your stirring stick inside, or lay it across the top.
Stir the mixture vigorously at least three times daily to incorporate the wild yeast from the air and ingredients and to ensure proper aeration for a strong fermentation.
Step 3:
Ancient Vikings considered this process mystical and maintained a disciplined approach.
Try to do the same and ensure a consistent environment for your starter to ferment property!
Step 4:
After about five days (or longer in colder weather), you’ll notice a fizzy, foamy head — a sign of healthy fermentation!
Congratulations, you now have a mead starter!
You can now use this to begin your new mead recipe or opt for commercial yeast like Lalvin D-47 or Lalvin 71-B, designed for semi-sweet or fruit wines, for more predictable results.
Dive into the Mead Brewing Magic.
Ingredients You’ll Need for a Juniper Hibiscus Mead
To yield a gallon of mead, you’ll need:
- 1 oz. dried juniper berries
- 1 oz. Dried hibiscus flowers or 2 oz. fresh
- 0.5 oz. meadowsweet
- 0.5 oz. yarrow
- 1 quart (2.3 lbs.) wildflower honey
- 1-gallon fresh spring water
- 4-5 raisins
- ¼-½ of your wild mead starter or one packet (5g) of Lalvin D-47 or Lalvin 71-B
The Steps for Making a Juniper Hibiscus Mead
Step 1:
Mix honey and water in a stockpot on medium-low heat (or over a fire if you want to go complete Viking).
Make sure the water is warm enough to dissolve the honey fully.
Stir this concoction thoroughly to create a smooth blend.
Step 2:
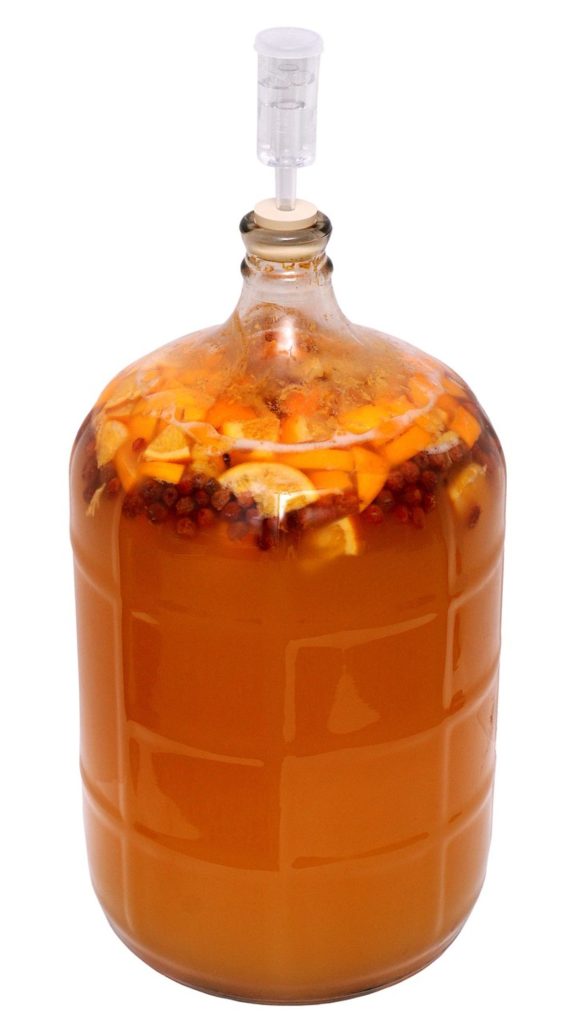
Grab a funnel and pour the honey-water mix into a one-gallon jug or a five-gallon carboy.
This is where the magic starts!
Add all the ingredients, including your yeast of choice.
Then, insert an airlock (or a balloon as a DIY alternative) into the vessel’s opening to let the CO2 escape during fermentation.
Step 3:
Place your mead-to-be in a warm, dark corner, ideally around 70°F (21°C) away from direct sunlight.
Now, let the yeast work its magic.
Remember to visit the vessel at least three times a day to give the mead a good stir.
Step 4:
After about a month, your mead will have clarified somewhat, but it’ll still be sweet and not very alcoholic.
It’s time for the first racking.
This means transferring the mead into another clean container, leaving behind any yeast sediment and flavoring ingredients gathered at the bottom.
The best way to do this is by using a vinyl siphoning hose, creating a gravity-powered flow.
Step 5:
Repeat the racking process every 2-3 months until your mead becomes beautifully clear with minimal sediment at the bottom.
Patience is key, but it’s worth the wait!
Step 6:
Determining when your mead is ready to bottle requires some testing.
Drop some sugar or carefully stir to see if there’s fizzing.
If yes, fermentation is still ongoing.
Another option is to close the container for a few days and open it carefully.
If you hear fizzing, it’s still fermenting.
As a Viking-style mead maker, you’ll have to skip the modern additives and let nature do its thing!
Step 7:
Now comes the fun part — bottling your mead!
Choose wine or beer bottles with new caps or stylish flip-top or swing-top bottles.
Most meads need at least six months to a year to mellow in the bottle before reaching their peak flavor.
But no one will blame you if you can resist an early taste test.
A Viking does what they want!
Viking Mead FAQs
The Vikings were drawn to mead for its sweet and flavorful taste and the deep cultural significance it held.
Mead was considered a drink of celebration and camaraderie, often shared during feasts and gatherings.
It was believed to bestow courage, wisdom, and artistic inspiration, making it a cherished part of their social and religious customs.
Vikings were resourceful in their mead-making, using readily available ingredients.
They used honey and water as a base, diluted to allow fermentation.
And to impart unique flavors, Vikings added various ingredients like flowers, fruit, herbs, and spices.
Their mead recipes were creative and dependent on what nature offered in their surroundings.
Yes, mead doesn’t stand up to long-term aging, and its flavor changes over time.
While some meads improve with extended aging, others might lose their original balance and become undrinkable.
As a beginner mead maker, it’s essential to taste your mead periodically during aging to determine its optimal maturation time.
Generally, most meads age well between six months and two years.
During fermentation, it’s normal for mead to produce some off-putting odors and flavors, like sulfur or “rotten egg” smells.
However, these typically dissipate as fermentation progresses.
It has likely gone bad if the mead smells excessively foul, has mold growth, or exhibits signs of contamination, such as unusual colors or textures.
Trust your senses — if it looks, smells, or tastes spoiled, it’s best to discard it and start anew.
Sip into Mead Bliss with These Refreshing Articles!
Crafting Homemade Blueberry Mead.
Home-Made Blackberry Mead Delights.
Final Thoughts
We hope this guide leaves you more knowledgeable about Viking mead!
Whether you’ve brewed your own or plan to, you’re part of this ancient and flavorful tradition.
So grab your horn, raise it high, and toast to the past, present, and future in one delightful sip.
Skål! (That’s Cheers in Swedish, by the way!)